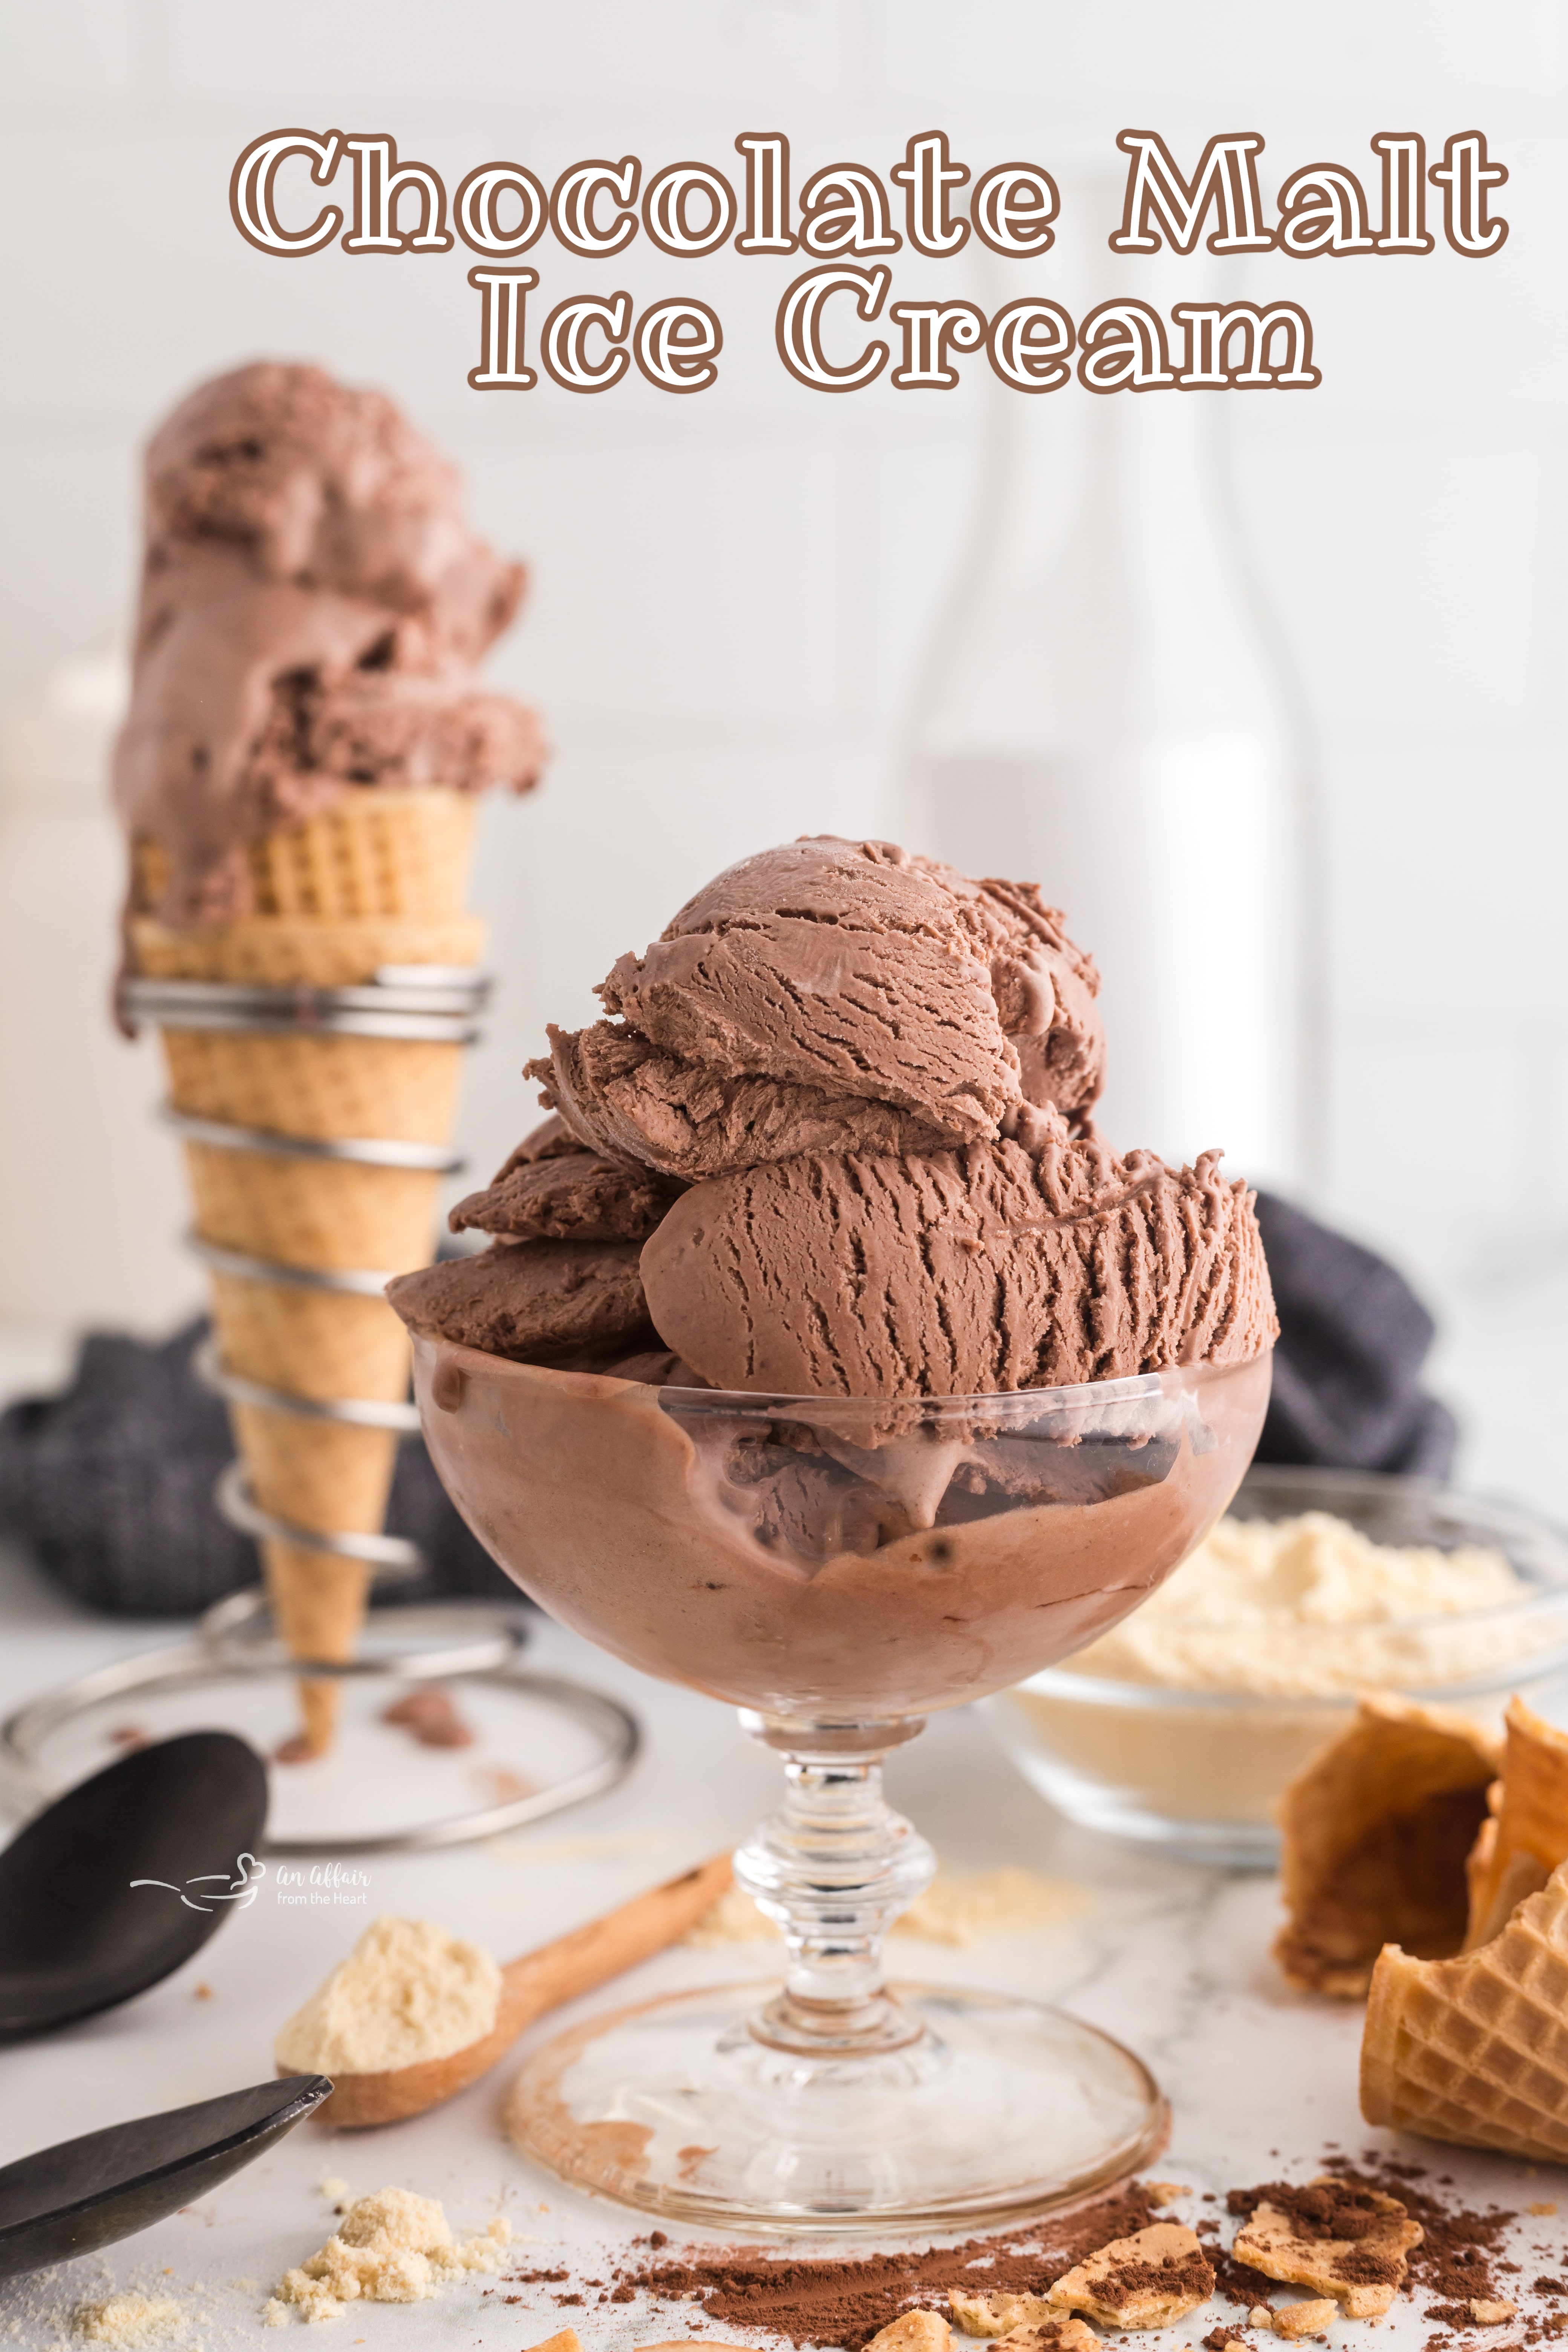
Classic Malt Shop Magic: Your Guide to Homemade Chocolate Malt Ice Cream
There’s a certain magic to the classic malt shop, isn't there? That comforting aroma, the clatter of spoons against glass, and the promise of a truly indulgent treat. Among the most cherished offerings is the humble yet exquisite chocolate malt. Now, imagine bringing that very essence of nostalgia, that rich, velvety chocolate, and that distinctive malty whisper, right into your own kitchen. We're talking about crafting your very own batch of
homemade chocolate malt ice cream – and the best part? It’s far simpler than you might think, especially with the game-changing no-churn method. Get ready to transform everyday ingredients into a truly unforgettable dessert that captures the spirit of yesteryear.
Rediscovering the Charm of Chocolate Malt Ice Cream
For many, the mention of
chocolate malt ice cream immediately conjures up fond memories. It’s more than just chocolate; it’s a symphony of flavors that evokes a simpler time. The deep, often bittersweet notes of cocoa are perfectly complemented by the unique, toasted, slightly nutty flavor of malted milk powder. This magical addition provides a depth and complexity that sets a chocolate malt apart from standard chocolate ice cream, delivering a distinctly old-fashioned taste that’s both sophisticated and comforting.
Many people shy away from making ice cream at home, often assuming it requires expensive, specialized equipment or hours of laborious churning. They might worry about achieving that signature rich, creamy texture found in gourmet varieties or store-bought pints, fearing their homemade attempts will turn out icy or bland. However, this is precisely where the beauty of the no-churn method shines. It demystifies the process, proving that a truly decadent and additive-free ice cream is entirely within your reach, regardless of the season. After all, as any true ice cream aficionado knows, this frozen delight is a joy to be savored year-round, unhindered by the summer sun.
The Game-Changer: Embracing No-Churn Chocolate Malt Ice Cream
The concept of "no-churn" ice cream has revolutionized home dessert making. It's the answer to those lingering questions about special equipment and lengthy freezing times. So, what's the secret behind creating such a luxurious treat without an ice cream maker? It all boils down to the brilliant technique of whipping heavy cream.
When you whip heavy cream to stiff peaks, you're essentially incorporating a significant amount of air into the mixture. This aeration is crucial because it mimics the primary function of an ice cream machine, which continuously churns and agitates the base while it freezes, preventing the formation of large ice crystals. Without this aeration, a simple cream and sugar mixture would freeze solid, resulting in an unpleasantly dense and icy block. The air introduced through whipping creates a light, airy, and most importantly, smooth texture that melts beautifully on the tongue.
Combined with other key ingredients like sweetened condensed milk, which provides both sweetness and a low water content (another critical factor in deterring ice crystal growth), cocoa powder for that irresistible chocolatey goodness, and of course, malted milk powder for its signature flavor, the no-churn method transforms these simple components into truly rich, creamy, and wonderfully scoopable
homemade chocolate malt ice cream. For a detailed step-by-step guide to this delightful process, you might find our article on
No-Churn Chocolate Malt Ice Cream: Easy Homemade Perfection incredibly helpful.
Crafting Your Perfect Scoop: Tips for Unbeatable Homemade Chocolate Malt Ice Cream
Achieving that perfectly smooth, creamy texture in your
no-churn chocolate malt ice cream is entirely achievable with a few clever tricks. These insights go beyond simply mixing ingredients; they are the keys to unlocking a truly professional-quality dessert right from your freezer.
*
The Power of Sweetened Condensed Milk: This ingredient isn't just for sweetness; it's a vital player in preventing ice crystallization. Its high sugar content and low water activity inhibit water molecules from binding together and forming large, crunchy ice crystals, ensuring a silky-smooth finish.
*
Whip It Good: Don't underestimate the importance of whipping your heavy cream to *stiff peaks*. This isn't just about volume; it's about thoroughly incorporating air. The more air you trap in the cream, the lighter and creamier your ice cream will be, and the less prone it will be to developing that undesirable icy texture.
*
A Splash of the Unexpected: Adding a very small amount of alcohol (like vodka or a chocolate liqueur) or corn syrup can work wonders. These ingredients are humectants, meaning they absorb moisture, and also lower the freezing point of the mixture slightly. This dual action further helps to keep the ice cream softer and smoother, preventing it from freezing rock-solid. A tablespoon or two is usually sufficient for a batch.
*
Seal It Right: Proper storage is paramount. Before freezing, press a layer of plastic wrap directly onto the surface of your ice cream mixture. This creates a barrier that minimizes air exposure, which is a primary cause of freezer burn and ice crystal formation on the surface.
*
Choose the Right Container: Freeze and store your ice cream in a shallow, airtight container. A shallow container allows the ice cream to freeze more evenly, and an airtight seal protects it from absorbing freezer odors and prevents dehydration. The malt powder itself also contributes to a softer texture, making it easier to scoop straight from the freezer without needing to soften it beforehand. For more expert advice on achieving that perfect texture, be sure to check out
How to Make Rich, Creamy No-Churn Chocolate Malt Ice Cream.
Beyond the Basic Scoop: Elevating Your Chocolate Malt Experience
While a simple scoop of
chocolate malt ice cream is heavenly on its own, there's a world of possibilities to explore when it comes to customizing and serving this classic treat. Your homemade batch provides a fantastic canvas for creativity.
Consider stirring in some delightful mix-ins: crushed malted milk balls for an extra textural crunch and an intensified malt flavor, mini chocolate chips or chunks for varying chocolate intensities, or even a swirl of fudge or caramel sauce for an added layer of indulgence. A sprinkle of sea salt can also beautifully enhance the chocolate notes, creating a sophisticated salted chocolate malt profile.
When it comes to serving, don't limit yourself to a bowl! Pile generous scoops into waffle cones, craft an elaborate sundae with whipped cream, hot fudge, and a cherry, or even go gourmet by serving a scoop alongside a warm brownie or piece of pie. For an adult twist, try an affogato-style serving by pouring a shot of hot espresso over a scoop, allowing the ice cream to slowly melt into a rich, caffeinated treat. The versatility of this dessert means it can be the star of a casual family night or the elegant finale to a dinner party.
With just a few hours of chilling time, your kitchen can become the next great malt shop, serving up unbelievably rich and creamy
homemade chocolate malt ice cream that tastes better than anything you could buy.
In conclusion, making your own
chocolate malt ice cream at home is an incredibly rewarding experience that delivers both superior flavor and a delightful sense of accomplishment. By embracing the simplicity of the no-churn method and understanding the few key principles for preventing ice crystals, you can easily create a dessert that is free from additives, bursting with nostalgic flavor, and perfectly creamy every time. So, gather your ingredients, whisk up some magic, and prepare to delight your taste buds with a classic that never goes out of style. The magic of the malt shop is now yours to command, one delicious scoop at a time.